
Ports - Part 2
Switch And Port
Note
This article is part of a series. If you haven't completed part one, we recommend you do so before continuing with this one.
Introduction
In this tutorial, we will be creating the complementary unit of the one we made in the last chapter; a unit with a switch that sends a boolean signal from a port when that switch is active.
The Unit Description
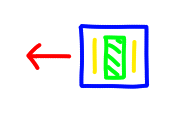
As before, lets get started with the unit itself. This one is just as simple as the last, but with a checkbox instead of a glowbox.
Once again, we will be using the Deno runtime to run a typescript program. You can learn about how to set this up in the How To Make A Unit tutorial
0
1
2
3
4
5
6
7
8
9
10
11
12
13
14
15
16
17
18
19
20
21
22
23
24
25
26
27
28
29
30
31
32
33
34
35
36
37
38
39
40
41
42
43
44
45
46
47
48
49
50
51
52
53
54
55
56
{"modelName": "switch_and_port",
"printName": "Switch & Port",
"space": [
{"x": 0.0, "y": 0.0}, {"x": 0.0, "y": 50.0}, {"x": 50.0, "y": 50.0}, {"x": 50.0, "y": 0.0}],
"collisionActive": true,
"executable": {"mac": "../deno",
"win": "../deno.exe",
"args": ["run", "--allow-read", "main.ts"]
},
"base": [
{"name": "backing",
"attribute": {"type": "rectangle",
"content": {"width": 50.0,
"height": 50.0,
"colour": {"r": 0.5, "g": 0.5, "b": 1.0}}
}
}
],
"parts": {"back": [
{"name": "port",
"attribute": {"type": "booleanPort",
"content": {"x": 0.0,
"y": 40.0,
"width": 15.0,
"angle": 3.1415927
}
}
}
],
"front": [
{"name": "switch",
"attribute": {"type": "checkboxCircle",
"content": {"x": 25.0,
"y": 25.0
}
}
}
]
}
}
Show More
The Inner Workings
The code for this is even simpler than the previous unit, and is almost identical to the code used in the How To Make A Unit - Part 1 tutorial.
0
1
2
3
4
5
6
7
8
9
10
import apiConsole from "../typescript-deno-0.3.3-0.1.0/index.ts";
apiConsole.unit.setMouseEventListener(({ event }) => { if(event.type === "checkbox") {apiConsole.interface.booleanPort.setValue(
0,
false,
event.content === "checked"
);
}
});
See the explaination for this code in the How To Make A Unit - Part 1 tutorial if you would like an in-depth explanation of what is going on here. The only difference between that code and this, is the use of the "apiConsole.interface.booleanPort.setValue" in place of the "apiConsole.interface.glowbox.onOff" command.
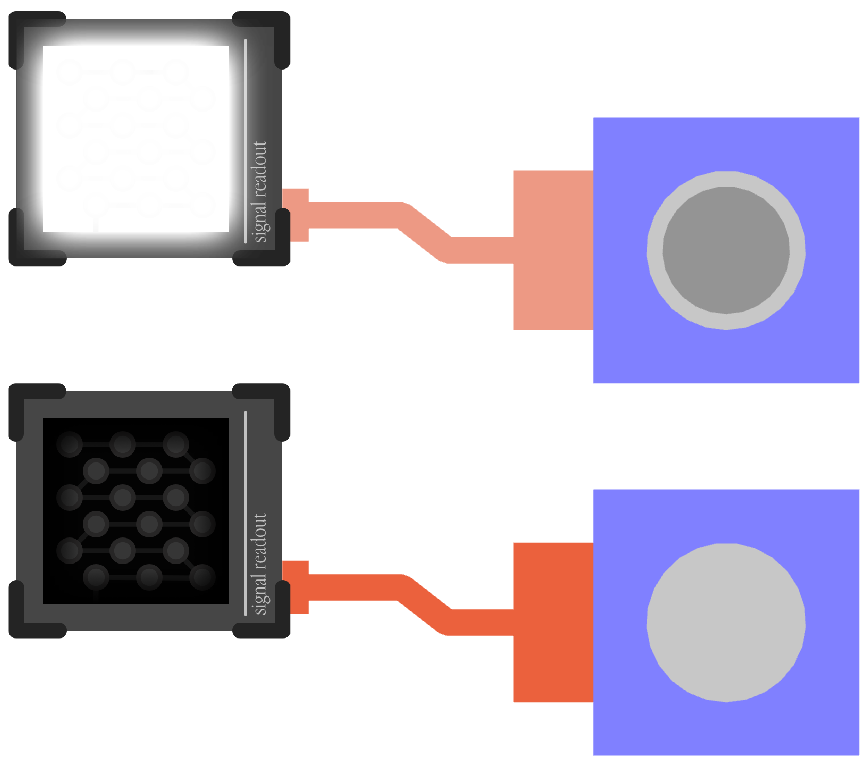
Done!
All going well, you should have something that looks like this
Putting it all together..
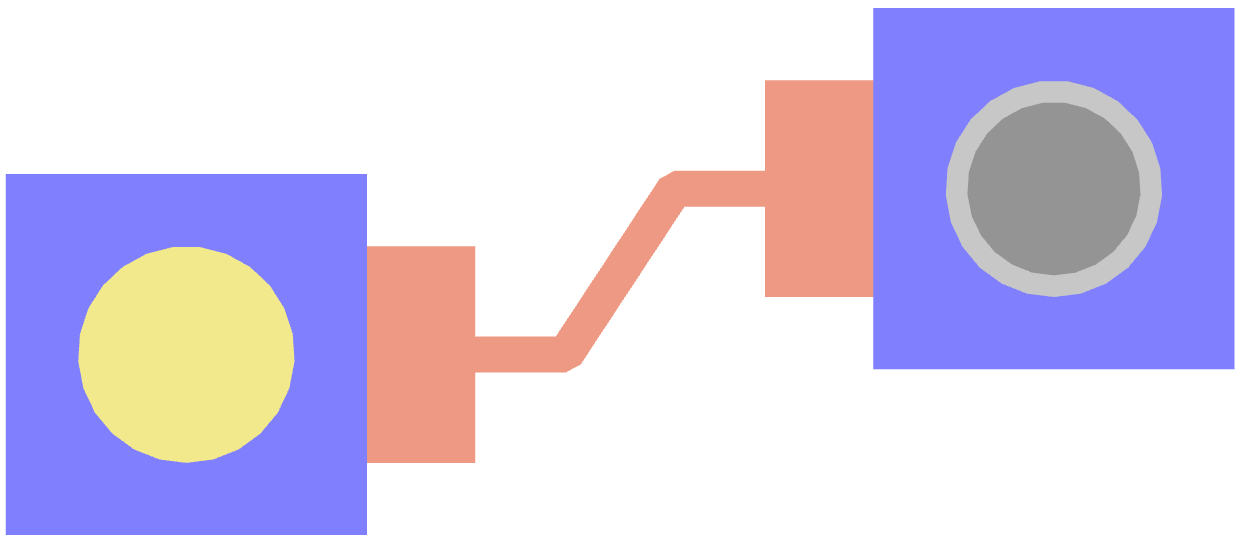
Congratulations! You've created your first set of units which can talk to one another! You should now have an understanding on how ports are used, how to send data through them and have to receive it.
Note
F32 connections are very similar to these Boolean ones, with the only difference being that the received value is a number instead of a boolean. Datagrams are mostly the same too, except they work with data structures. Audio connections are different in that there is no message sending at all. Their primary function is for managing connections in the audio rendering engine, and so will have additional functionality for gathering their audio node ids for wiring together audio streams.
Happy coding!